What is the Design Process?
The Design Process is the practice of breaking down any design project into small phases. This process can be used to approach any design project. The number of phases (fluid) and steps (more concrete) can vary slightly depending on the designer's approach, project, and client needs. The design process is not necessary a linear process, you may bounce between phases and steps throughout the creation process. This is particularly true of phases 3 and 4, you may find that you are working in a cyclical manner between these two phases before the completion of the project and design delivery.
|
The FIVE (5) phases of the Design Process:
|
I've done my best here to try and define the processes involved in designing a project. The design process can be more like a squiggle.
Phase 1 – Design Brief
Video Credit: Briefly from Bassett & Partners on Vimeo.
"Every project starts with a brief. Through a series of one-on-one interviews with Frank Gehry, Yves Béhar, Maira Kalman, John C Jay, David Rockwell, and John Boiler, we asked them to elaborate on how they define – and use – the brief to deliver exceptional creative results."
What is a Design Brief and What Should it Include?
Building a relationship with your client through clear communication. A design brief:
- Helps to build relationships and gain trust between stakeholders, it can invite the client to be more involved in the process, and sets the tone of a design project. A clear project scope can help manage scope creep.
- Is an easy to understand document that clearly defines details and expectations of a design project from start to completion.
- Explains why the design is necessary, how it will benefit the client and their target audience, how it aligns with the brands current goals and moves it forward, and may provide information about the competition.
- Uses keywords that clue the client in to project specifications like industry information, aesthetics, form, style, tone, and voice. While moving through the Design Process, it is important to regularly refer back to the Design Brief in order to ensure that the evolving design meets all project goals and guidelines.
- Is a dichotomy of limitations and invitations, it includes goals with deadlines but is flexible enough to move a clients dream forward.
Components of a Design Brief with Details
Your Company Info & Stakeholders
This includes your company name, the person(s) in charge of the project and their contact information, a brief summary of your business and what you provide.
Client's Stakeholder Information
Who is in charge of what and their contact information, examples would be:
- Primary point-of-contact
- Campaign manager
- Copy writer
- Design
- Developer
- Social media
Client Profile
- Company name & size
- What they do
- What are their unique aspects
- What are their primary needs
- In general, who is their target audience/market
- Statistics about the company and its major competitors.
- Brand / style guidelines and exceptions; what common themes or motifs are important to their brand
- Messaging and tone
- Budget
Project Description
- A brief description of the design project that is being executed.
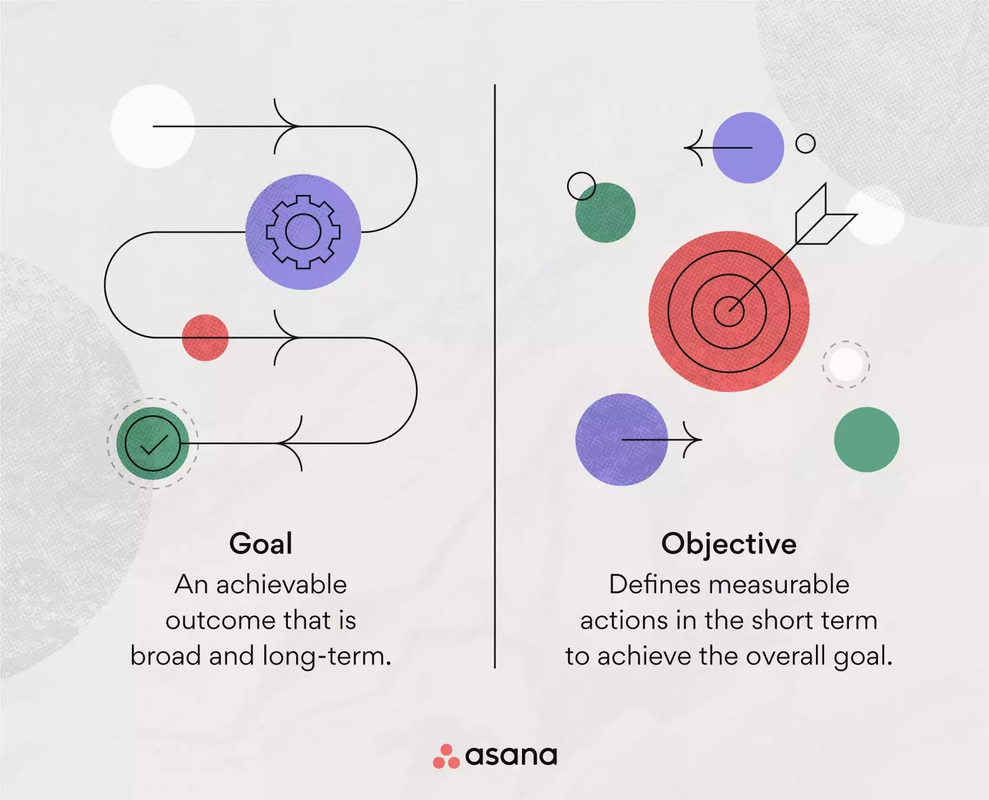
Design Goals & Objectives
|
|
Desing Concept
- The core idea, underlying logic, and reasoning driving how the designer will solve a design problem. In order to develop an appropriate design concept, the designer must have a clear understanding of the design problem being solved.
- The design concept is a framework in which the design is built, outlines the visual aspects of a design, and defines how visuals clarify messaging that resonates with the target audience. It outlines design aesthetic considerations such as color, font, grid structure, tone, image and illustration usage, composition, and format. These guiding principles drive the development of design project assets / content.
Technical Strategy
- Defines how the designer will leverage technology in the production of the design; technology decisions can range from software needs, to printing process(es), to paper choice, and beyond.
Project Assets & Deliverables
Project Assets
- All of the components of a project including research, mood boards, databases, text, graphics, (illustrations, icons, photographs), media (video, animation, audio), color palettes, fonts, design development (sketches, comps, design iterations), and physical products.
- Depending on the contract between designer and client, these design assets could belong solely or in-part to the designer or the client. It is important to have a clear understanding of what assets belong to whom before the start of any project.
- Asset management, which includes archiving work and file organization, is an essential skill for every designer.
Deliverables
- These are the components of the project that will belong to the client at its completion.
- Deliverables can be a single item or a series of items. They can be digital products such as an app or specific file types like a printer spread PDF or physical products like printed brochures, pens, or t-shirts.
Project Schedule
- The timetable (specific dates/times) that project phases will be completed, approval timeline and final design delivery. For example, a large project might have multiple deadlines that are completed by different members of the design team or each phase of design must receive written approval by the point-of-contact before the next phase of design can be started.
Budget
A plan that that details the full cost of the project, itemizes what the monies will be spent on, and a payment schedule usually payments are set at project milestones.
Note: Development of the Design Brief will come after the first client consultation and some discovery. For class, I will be providing the Design Brief.
PHase 2 – Discover
Discovery is a crucial step in the Design Process that involves research, collection, and analysis of information that will inform the understanding of the design problem, in turn shaping the direction of the design solution. Completing proper research will allow the designer to more effectively fulfill the Design Brief and solve the design problem.
- Gather reference information keeping track of all sources including web URLs. Information can be in many forms: observation, surveys, interviews, focus / user groups, visual, data, statistics, historical, or reports. One way to stay organized is to keep a text-based document, spreadsheet, or database with information and reference images.
- Learn about the client's business, industry, target market, and main competitors.
- Deep dive into the history, brand value, vision, mission and culture of the company. Do they have a style guide the design is rquired to adhere, or are there particular systems or structures they have in place the design must follow?
- Discover the target audience: What resonates with them, what are their hobbies, demographics and physical traits, what do they want, what impacts their behavior (religion, age, gender, etc.?
- Empathize to understand the problem more deeply.
- Begin to write about and visualize concepts. More on this below.
PHase 3 – Design
Step 1: Ideation—Analyze the research and develop the concept for the design solution; the concept must fulfill the Design Brief.
- What is the design strategy?
- What design concept satisfies the design strategy?
- What is the message you are working towards communicating? Put it in writing using art and design terminology.
- What design elements will visually communicate the design concept and message?
- Which design style / aesthetic will best showcase the project strategy/goal?
- Who is the target audience?
- After viewing the design, what is their take away?
- What action should they take?
- Consider how the project will be output—print (physical) or digital (for a screen) or both? See below for details.
- Continue to write about and visualize concepts. More on this below.
Step 2: Create Preliminaries—Begin visual exploration and concept refinement.
- Jot down all design ideas through writing.
- Visualize concepts by using any of the following techniques:
- Write out concepts in words.
- Create a mind-map or outline.
- Produce thumbnail sketches: small drawings, completed quickly in rapid succession, each one should take between twenty seconds to one minute. Usually quick outline drawings.
- Create a mood board to demonstrate the feeling of the design.
- Complete more detailed, rough sketches based on the most appropriate design concept. Develop these enough to be able to determine if the direction fulfills the Design brief. Consider the Principles of Design and Elements of Art.
- Generate comprehensive drawing(s): These are detailed drawing that more completely showcases how the final design will come together in the end. These are presented to the client for approval to move forward and complete the final design.
Step 3: Production—Produce the design based on the Design Brief specs and approved comprehensive drawings. Then produce the product.
Considerations:
Considerations:
- Compose the visual solution that uses sound design principles based on a clear understanding of the Principles of Design and Elements of Art.
- Reflect on how the design principles are being used to visually support clear messaging. This means choosing colors, fonts, composition, grid, layout, etc. that resonate with the audience.
- Use the correct tool(s), technique(s) and craftsmanship as they are key to successful completion of any design.
Output Considerations
It is key to talk to a printing bureau and the client, early in any project in order to understand the possibilities and cost involved.
It is key to talk to a printing bureau and the client, early in any project in order to understand the possibilities and cost involved.
|
Document Setup
|
Viewing / Location
|
|
Document Setup
|
Interaction
|
|
|
Phase 4 – Discuss
AKA: Critique, Feedback, Peer Review, A Conversation
- Success is determined by how well a design visually expresses the design concept and clear messaging through the use of the Principles of Design and Elements of Art. Personal feelings (like or dislike) have no place in critique.
- Seek out feedback at every stage of the Design Process. Minimally, review should happen at the 10%, 50%, and 95% milestone markers.
- 10% complete: The discovery, outline, and wireframe or thumbnails should be complete.
- 50% complete: The core components of the design have started to come together, giving a very clear understanding of the direction of the project.
- 95% to 98% complete: The design is almost complete, only fine-tuning remains.
- Feedback can begin with friends, family, peers, and colleagues.
- Present the project to the client. Listen carefully to their feedback, consider their point-of-view and perspective. Take notes.
- After critique, reflect on and analyze the feedback received, make notes. Then, make decisions on how to refine and improve the design and implement appropriate changes.
Phase 5 – Deliver DESIGN
- Complete the final design along with the design rationale statement.
- Deliver the final design and product(s) to the client according to the timetable and guidelines outlined in the Design Brief / Contract.
- Be sure to send the invoice, receive payment, and include all agreed upon documentation and assets.
A Successful Design Takes Time!
- 50% of your time is utilized to complete 95% of a design.
- 50% of your time is utilized to complete the last, crucial 5% of the design, which tweaks like spacing, color, typesetting.